HardTrack Mobile/Desktop on Windows Tablet - Best Practices

Equipment Overview
Wireless Reader - Remove the reader from the small Pelican case and charge it as soon as possible.
Note: The reader will slowly charge while in use when it is attached to the Rugged Tablet's USB port
Use the supplied USB cable and the white USB power supply to charge the Wireless Reader
 Rugged Tablet - Manufacturer's User Manual
There are (2) USB ports on the left side of the tablet. The Wireless Reader should be plugged into one of the USB ports.
Note: (1) USB-C to USB-A adapter is included so that you can attach (2) devices that require USB-A
Place the Rugged Tablet in the Docking Station, and attach the power supply to the back of the Docking Station to charge the tablet.
Note: It may be necessary to remove the hand strap for the Tablet to dock properly. A small red light will appear at the top of the tablet when it is charging in the dock.
Place the Wireless Reader with the USB cable attached into the leather case, and clip the leather case to the Rugged Tablet's carrying handle or to the handstrap on the back of the tablet.
Attach the USB cable from the reader to the Rugged Tablet's USB port before starting the HardTrack app on the tablet.
HardTrack App
After powering on the Rugged Tablet, double-tap or click using a mouse on the HardTrack app icon
Note: Wake Customer Care will supply you with the tablet login credentials. The keyboard that appears in the photos is not included with the equipment.
Please attach the Wireless Reader to the Rugged Tablet using the USB cable before starting the HardTrack app. If the equipment is set up correctly, with the Wireless Reader attached to the Rugged Tablet via the USB cable, when you start HardTrack, you will see the following displayed:
You should not have to make any changes to the reader settings. However, this is how you can access the reader settings:
HardTrack has been configured to connect to the reader when the HardTrack app starts automatically.
There are 3 options for adding the individual wireless loggers to a placement.
Option 1) You can scan for Wireless Sensors, and HardTrack will search the surrounding area:
Note: Keep in mind that the Wireless Reader has a range of approximately 300 feet line-of-sight with the Wireless Loggers. If you place the wireless logger too close, the loggers may be overwhelmed by the RF signal and not be located. Place the loggers no closer than 10 feet to the reader.
When the Scan completes, HardTrack will add all the located Wireless Loggers to the new placement/Project, and ask you to name the placement. You can do this or you can Cancel and Save the Project later, after you remove the loggers you do not want to use for your new Project.
You can click Single-Click or tap on the loggers you do not want to keep, then click on Sensors, Delete to remove them.
If you have a mouse and keyboard you can use with the tablet while it is in the Dock, you can hold down the Ctrl key and then Single-Click on each logger you want to remove, then click on Sensors, Delete to remove all selected.
If the loggers you want to remove are in order, you can hold down the Shift key and highlight them by clicking on the first and last logger, then click on Sensors, Delete to remove all selected
Saving the Project later:
Option 2) You can add the loggers you would like to use one by one by clicking on Sensors, Add Known Wireless Sensors. You can select them in the folders that appear, which will have the names of past Projects on them.
You only have to do this one time to add the Known Sensors to the tablet:
To get started, Wake Customer Care has placed a Project in HardTrack that includes as part of its name "Known".
- Click Project, Open, then type "Known" and press tab or enter, you will see a Project you can click on that contains all of the loggers you have ordered. This will open the known Sensor Project and load a copy onto the Tablet.
- Click Project, New to clear the Known Sensors
- Click Sensors, Add Known Wireless Sensors
- Open the Known Sensors Folder, and tap on the sensor you would like to add to your placement.
You can repeat these 2 steps to add another Known Sensor.
Option 3) Open a past Project, then click on Project, SaveAs. Give your new placement a name, and the new placement will contain all of the loggers used on the selected past Project.
How to Initialize the Wireless Loggers
(Automatically Starts Logging as part of this process)
The Wireless Loggers need to be initialized in order to turn off airplane mode so they can be interacted with from longer distances.
The Wireless Loggers should be initialized each time you reuse them to remove old temperature readings so that the data files on the wireless loggers are as small as possible for fast response time.
The best way to accomplish this is to use the Reuse Wireless Sensor(s) option found on the Sensors menu.
Before reusing the Sensors, please click on Options, Project Duration, and set the correct logging interval for the loggers, i.e., 15, 30, 60, etc.Note: If your Thermal Control Plan indicates, for example, every hour, use 60 minutes.
If you would likemore granularity You can set the logging interval to 15 or 30, and when you export the final report to Excel from HardTrack, HardTrack will remove the extra readings for you.
After you have the exact Wireless Loggers in your Project that you would like to use for your new placement, click on Sensors, Reuse Wireless Sensor(s), Reuse All Sensors
Note: You have to select one of the sensors with a Single-Click or Tap before this command will work.
HardTrack will default the logging interval to the value set in Options, Project Duration, i,e, 60 minutes. The loggers will be formatted, taken out of airplane mode (set to high sensitivity), logging will be started on each logger using the 60 minute interval. HardTrack will read each logger and update the system with the 1st reading.
When Reuse has completed, double-click on the sensors in HardTrack and view the temperature readings
Click on the Temp.Log tab to view the readings
How to Name the Individual Sensor Locations and Set the Pour Date & Time
Double-Click or Tap on a Sensor. Click or Tap on the ConceteInfo Tab
Update the Location Name and Click on Save
You can update the Pour Date and Time on the ConcreteInfo tab individually for each sensor, or with the Project Option, Click on Options, Project Duration
Update the Pour Date and Time, click or tap on the Green button, then Click OK. All of the Sensor will be updated with the same Pour Date & Time.
How to Read the Wireless Loggers
Open the Project.
With the Sensors in Range of the Wireless Reader, Click or Tap on Sensors, Read Sensor(s), Read All Sensors
How to Export the data to the Excel Workbook for the final report
With the Project Open, Click on Project, Export Data, Open Project - Temperature Reports
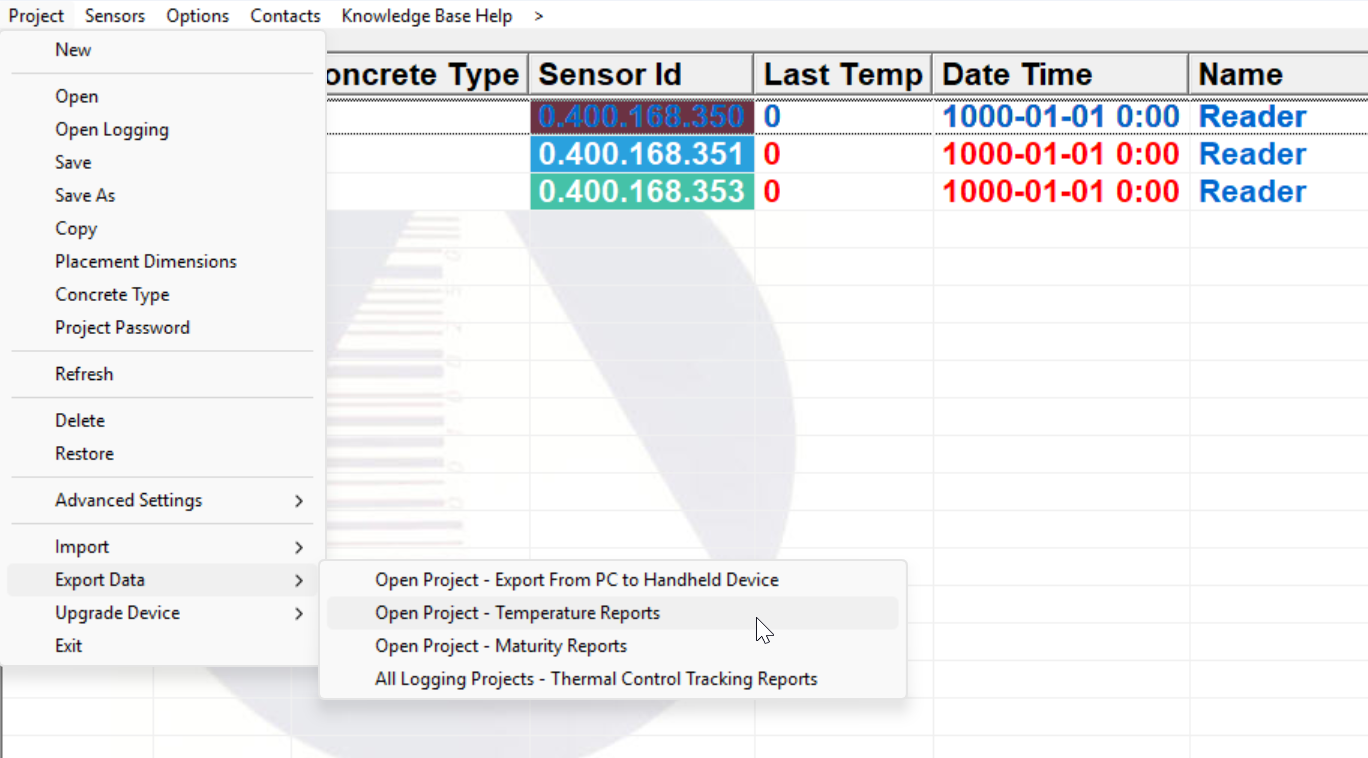
Click the check boxes for the items you would like calculated, typically required in the Thermal Control Plan, then Click on Excel Export
Note: If you access a project using HardTrack Desktop Web from your PC Browser or Phone, after you click on Excel Export, HardTrack will generate the Excel Workbook on the HardTrack Cloud Server and email it to your HardTrack Contact email address.

Important: To prolong the battery life of the wireless loggers, always Stop Logging on a Placement when the monitoring Period is complete.
With the Wireless Loggers in Range, Project Open, Click on Sensors, Logging, Stop All
Note: To avoid any future issues with the Reader, please leave the Reader connected to the USB port on the Tablet until the HardTrack app is closed.
How to use the Handheld to Read the Sensors as an alternative to using the Wireless Reader attached to the Tablet:
Connect the Handheld Docking Station to the USB Port on the Tablet or PC
When the Handheld is in the Handheld's Docking Station, with the USB cable pluged into the Tablet or PC, Windows Mobile Device Center should start. If it is not started, click on the Windows button and Start Windows Mobile Device Center.
If Windows Mobile Device Center does not start, follow these instructions on how to fix Windows Mobile Device Center

These links address using the Mobile Handheld to work with the Wireless Loggers:
Related Articles
HardTrack Mobile User Manual
HardTrack Mobile User Manual Revision 5.1 April 21, 2021 For further information or assistance, call WAKE's Customer Service Hotline Toll-Free at US (800) 957-5606 or CA: (647) 931-6995 Wake, Inc. reserves the right to alter any of its products or ...HTC Gateway - How to set up a new Concrete Pour - Best Practices
Starting with version 5.1._02.33 of HardTrack Desktop, this is the best procedure to follow to set up a new HardTrack Project and Start the Sensors/Tags Logging. On your PC using HardTrack Desktop, start by adding Known Sensors to your new HardTrack ...How to update HardTrack Mobile on a Handheld Device to a new version using HardTrack Desktop
How to update HardTrack Mobile on a Handheld Device to a new version 1) Update your HardTrack Desktop application 2) Place your Mobile Device in the Docking Station and attach the USB cable so that the Mobile Device can communicate with your PC which ...How to get Device Mirror working between HardTrack Desktop and HardTrack Mobile running on a Handheld Computer
After following the instructions in the HardTrack users manual, you cannot get Device Mirror to run correctly on your PC, this article may assist you in resolving the issue. Device Mirror will need to be initially installed. This is usually taken ...Windows Mobile Device Center Installation
You will need Windows Administrative Authority to complete these tasks. Starting with HardTrack Desktop version 5.1._02.31 or greater: After successfully installing HardTrack Desktop and applying any Updates to HardTrack Desktop, click on Project, ...